
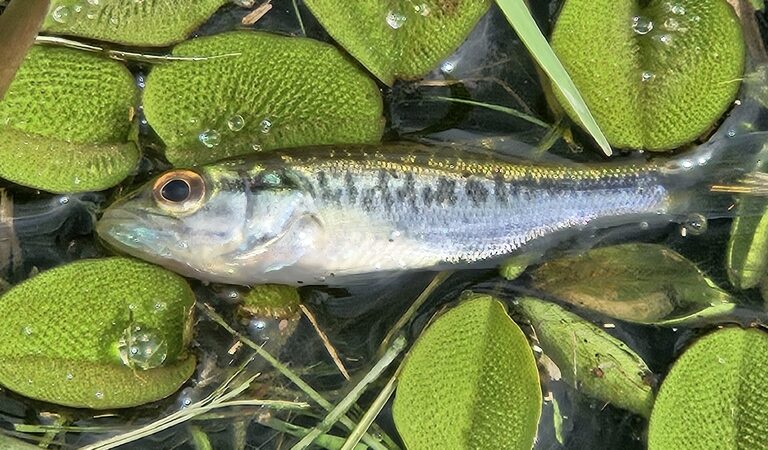
Your first fishing trip is going to be a little chaotic. That is completely normal.
You will probably forget something. You will likely struggle with a knot or a tangle at some point. The fish may not cooperate right away. None of that matters, because what you will also experience is the sound of water, the patience of waiting for a bite, and the genuine rush of your first fish on the line.
This guide is designed to take the guesswork out of your first trip so you can spend less time figuring things out and more time actually fishing.
Step 1: Get Your License Before You Go
This is the step most beginners overlook, and it can turn an exciting day into an expensive one.
In virtually every state in the United States, you need a valid fishing license to fish in public waters. License fees fund fishery management, stocking programs, and conservation efforts that keep the fishing good for everyone.
Purchasing a license is easy. Most states allow you to buy one online in just a few minutes through the state wildlife agency’s website. In Oklahoma, visit wildlifedepartment.com to purchase your license. Many sporting goods stores and Walmart locations also sell fishing licenses at the customer service desk.
Annual licenses are typically $20 to $30 for residents and are worth the investment if you plan to fish more than once or twice. Day licenses are available if you just want to try it out before committing.
Keep proof of your license with you at the water. A screenshot on your phone is usually acceptable, but check your state’s specific requirements.
Step 2: Choose the Right Location
You do not need to drive to a famous lake on your first trip. In fact, a small local pond or community lake is often a better choice for a beginner.
Smaller bodies of water tend to have higher concentrations of fish in a smaller area, which means you will likely get more bites. The shoreline is often accessible without a boat. Parking is easier. And the pressure is lower, meaning you can take your time and learn without feeling rushed.
Look for:
Public access. State parks, wildlife management areas, and community ponds usually have publicly accessible fishing areas. Many are free to fish with a valid license.
Structure. Fish do not hang out randomly in open water. They relate to structure: docks, fallen trees, submerged brush, weed edges, rocky points, and areas where shallow water meets deep water. Finding structure at your chosen location is the most important step in locating fish.
Shade and cover. In warm months, fish and anglers both appreciate shade. Early morning and late evening are typically the most productive times to fish, especially in summer.
Step 3: Pack the Right Gear
You do not need much to have a productive first fishing trip. Here is a practical checklist:
Essential gear:
- Rod and reel combo (a spinning setup is ideal for beginners)
- Fishing line already spooled on the reel (6 to 10 lb monofilament for most freshwater fishing)
- Fishing license
- Small tackle box with a selection of hooks (sizes 4 to 8 for general use), split shot sinkers, and bobbers
- Live bait (nightcrawlers or worms are the most versatile option)
- Long-nose pliers for hook removal
- Small first aid kit (hooks and fish fins can cause minor injuries)
- Cooler or fish bag if you plan to keep your catch
Comfort and convenience:
- Sunscreen, even on overcast days
- Insect repellent
- Water and snacks
- Hat and sunglasses (polarized sunglasses help you see into the water and spot fish)
- Old clothes you do not mind getting dirty or wet
- A small trash bag (pack out what you pack in)
Optional but helpful:
- Tackle bag or backpack instead of a rigid tackle box for easier carrying
- Camera or phone with good camera for photos
- Small measuring tape if you want to track the size of your catch
- A basic fishing app like Fishbrain or Navionics for finding local spots and tracking conditions
Step 4: Set Up Your Rig
For your first trip, keep your rig simple. A basic bobber rig is one of the most effective setups in freshwater fishing and requires no prior experience to use.
How to rig a simple bobber setup:
- Attach a bobber to your line about 2 to 4 feet above where you want your bait to sit. Clip-on bobbers are the easiest to use.
- Pinch one or two small split shot sinkers onto the line about 6 inches above the hook. This helps your bait sink instead of floating up unnaturally.
- Tie your hook using an Improved Clinch Knot. Check our knot-tying guide if you need a refresher.
- Bait your hook with a small piece of worm, threading it through the worm two or three times so it stays on.
- Cast your bait near structure and watch the bobber. When it goes under or starts moving erratically, you have a bite.
Step 5: Make Your First Cast
Casting with a spinning reel is simple once you know the steps.
- Hold the rod with your dominant hand. Point the rod tip toward your target.
- With your index finger, hold the line against the rod. Flip open the bail with your other hand.
- Bring the rod back to about the 2 o’clock position (slightly past vertical behind you).
- Swing the rod forward toward your target in a smooth, controlled motion.
- Release your index finger as the rod tip passes the 10 or 11 o’clock position in front of you.
- Let the bait land, then flip the bail closed and reel in any slack.
Your first few casts will not be perfect. They do not need to be. Aim for a general direction and adjust from there. Casting gets easier very quickly with practice.
Step 6: Read the Water and Be Patient
Once your bait is in the water, pay attention to what is around you.
Look for changes in the water surface that might indicate structure beneath. Watch for baitfish jumping or activity near the surface, which often means larger fish are feeding below. Notice where other anglers are catching fish.
Patience is part of fishing. A good rule of thumb is to give any single spot about 15 to 20 minutes before moving. If you have not had a bite in that time, try a different area. Fish are not always where you first expect them to be, and moving around until you find active fish is a legitimate strategy.
What to Do When You Hook a Fish
When you feel or see a bite, resist the urge to yank the rod immediately. A slow, firm lift of the rod tip is usually more effective than a hard hookset, especially when using circle hooks or fishing for panfish.
Once the fish is hooked, keep steady pressure on it. Let the drag on your reel do its job and avoid trying to horse the fish in too quickly. Keep the rod tip up to maintain tension on the line.
When the fish is close, wet your hands before handling it to protect its slime coat. Support larger fish horizontally rather than holding them vertically by the jaw, which can injure them.
To Keep or Release?
That decision is entirely personal, within the bounds of local regulations.
If you plan to eat your catch, check your state’s size and bag limits. Most regions have minimum size requirements designed to protect young fish before they have had a chance to spawn. A 12-inch minimum on bass, for example, means you must release anything smaller.
If you plan to release the fish, do so quickly. Keep the fish in the water as much as possible, handle it gently, and let it swim away under its own power. Healthy fish released properly can be caught again.
Common First-Trip Mistakes to Avoid
- Fishing in the middle of the day during summer. Fish move deep when the sun is high and water temperatures rise. Early morning and late evening are far more productive.
- Using too large a hook or too much bait. Beginners often overdo it on hook size and bait amount. Small hooks baited lightly catch more fish than large hooks loaded with bait.
- Moving too often. Give a spot a real chance before abandoning it. Constant movement prevents you from settling into a rhythm.
- Not wetting the knot before tightening. Dry friction weakens monofilament. Always wet your knot.
- Forgetting to relax. Fishing is supposed to be enjoyable. Not every trip results in a full stringer. The time on the water is valuable even when the bite is slow.
Your First-Trip Checklist at a Glance
Before you leave home:
- Valid fishing license purchased and accessible
- Rod and reel rigged with fresh line
- Hooks, sinkers, and bobbers packed
- Live bait or lures ready
- Sunscreen, hat, and water packed
- Pliers for hook removal
At the water:
- Identify structure near your fishing spot
- Set up a simple bobber rig
- Cast near structure and give each spot 15 to 20 minutes
- Handle fish gently and follow local regulations
Final Thoughts
Your first fishing trip does not need to be perfect. It just needs to happen.
The skills you develop on that first day — reading the water, feeling for a bite, working a knot, fighting a fish — are the foundation everything else builds on. Every experienced angler started exactly where you are right now.
Grab your gear, get to the water, and go catch something.
Looking for more help before your first cast? Check out our Essential Tips for Beginner Anglers for a complete starting point.